If you are like me, you enjoy a nice strong cup of coffee (or coffee in general). Whether it’s in the morning or later in the afternoon, anytime is a good time for coffee. Lately, I’ve ventured into making my own cold brew coffee at home. This is the best cold brew coffee that I’ve tried. I find the taste to be very smooth and refreshing. Pair the coffee with a little cream, sugar or your favorite flavorings and you will have a delicious cup of cold brew that you will be making again and again. If this is your first time attempting to make cold brew coffee, follow the simple steps below and you’ll be a pro in no time.
Here is what you will need to get started.
- A glass jar (64oz)
- If you don’t have a half gallon (64oz) jar you can find some large glass jars at various retailers.
- Coffee grounds (freshly ground coffee is best for the fresh flavor)
- Flavored coffees are also great for this because it smells amazing and it can add very nicely to the coffee flavor compared to a plain roast.
- 1 cup measuring cup
- Water (can’t make drinkable coffee without it)
- Strainer/Colander (you know, the thing you use to strain your pasta?)
- Filters (coffee filter, paper towel, napkins, etc.)
- Medium to large Bowl or pitcher
Step 1: Pick Your Glass Jar
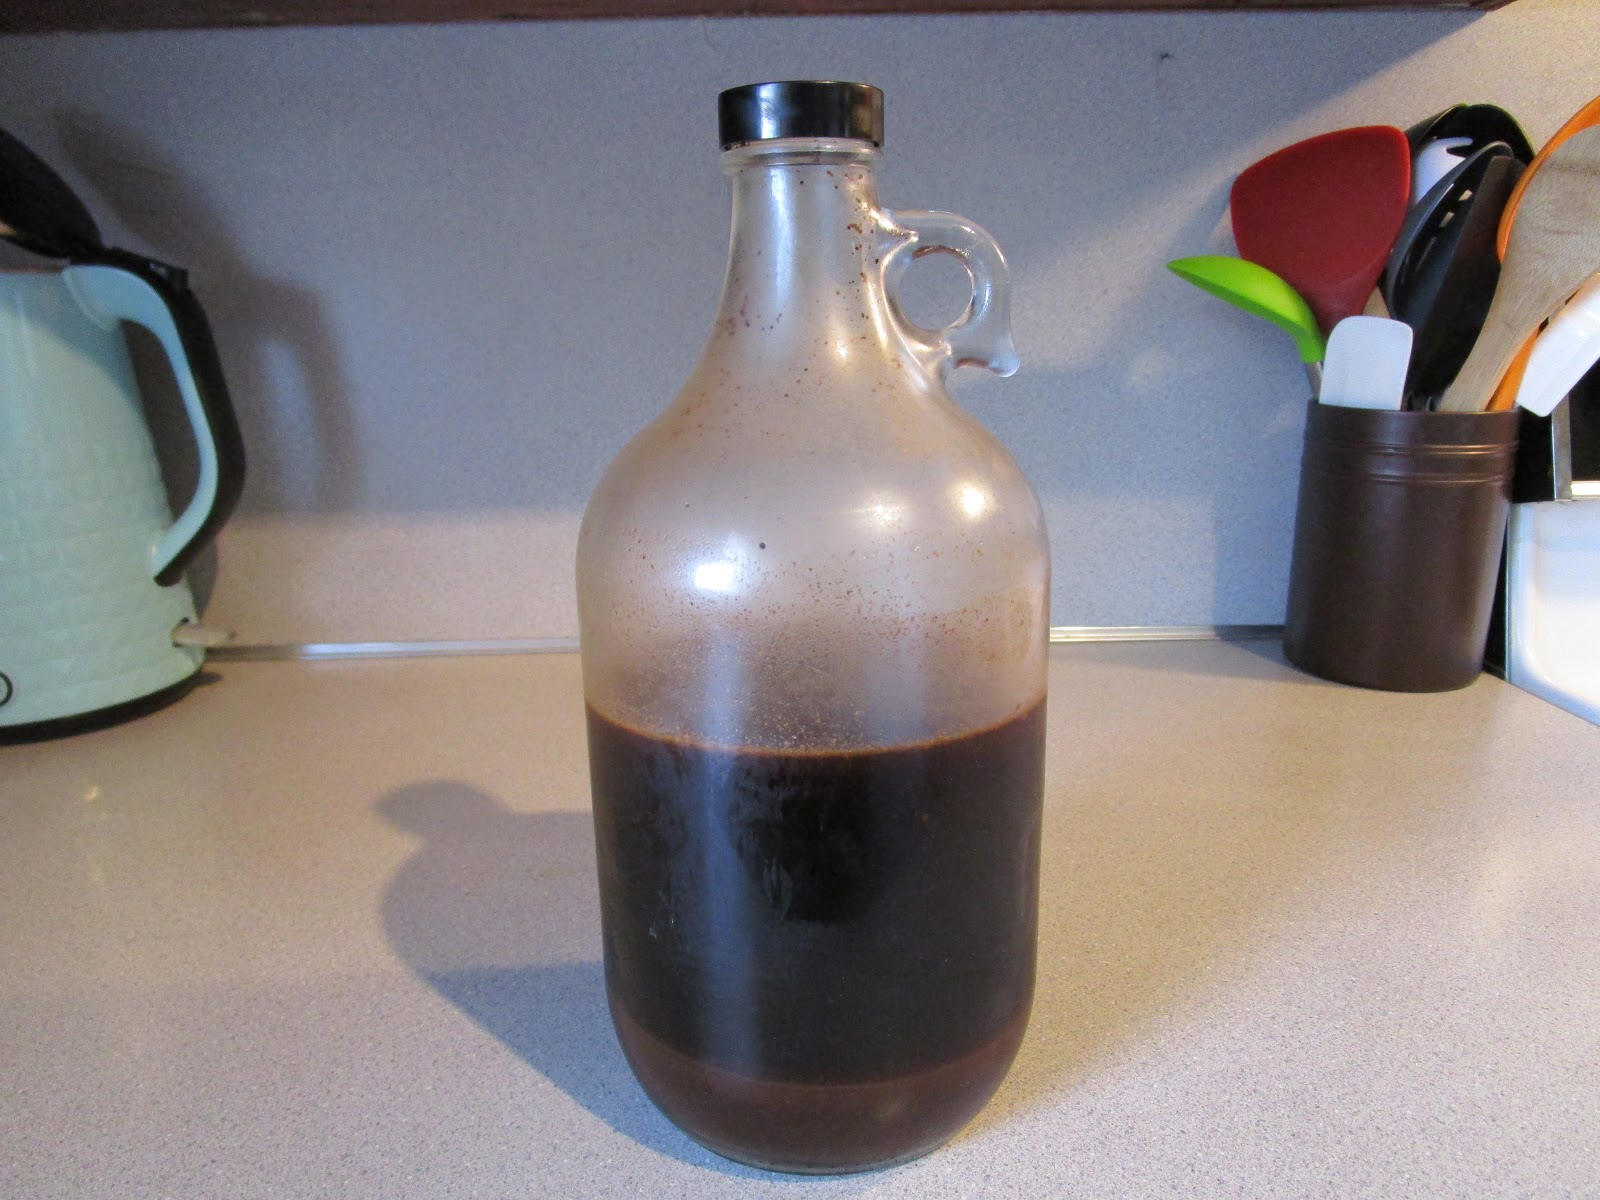
For simplicity, let’s use a half gallon jar (64oz). But if you don’t have one that big, 32oz jars work well for smaller batches. You would need to adjust the recipe slightly. I have a couple 32oz growlers that I’ve purchased cold brew coffee in before at a local coffee shop and those work well. Make sure that the jar you use has been thoroughly cleaned. Especially if it is an empty pickle jar. You don’t want to have coffee with pickle essence.


Step 2: Pour 1 Cup of Coffee Grounds into Glass Jar
For our 64oz jar, we will measure out 1 cup of coffee grounds. (Note: If you are using whole bean coffee, make sure to grind it up first.) I do love the smell of coffee grounds.
You can experiment with different roasts each time you make a batch. The best flavor that I’ve found so far is a medium roast Hawaiian Coconut. The flavor is very smooth and has a great smell while making it.


Step 3: Add 5 Cups of Water
Measure out 5 cups of water and pour it into the glass jar. We will use a 5:1 ratio for our cold brew coffee. 5:1 ratio would mean 5 cups of water and 1 cup of coffee grounds. This is a typical recipe that coffee shops use.


Step 4: Mix the Coffee/Water and Refrigerate for 24 hours
Swirl around the coffee grounds in the jar so there are no more dry grounds. Then place the coffee/water mixture in the refrigerator for 24 hours. I tend to check on it a few times within the 24 hours and stir it a little bit to make sure most of the bubbles come out of the coffee grounds. While checking the coffee, I rotate the jar on it’s sides to wash off the stray coffee grounds stuck on the sides.

Step 5: After 24 Hours, Strain the Coffee Mixture
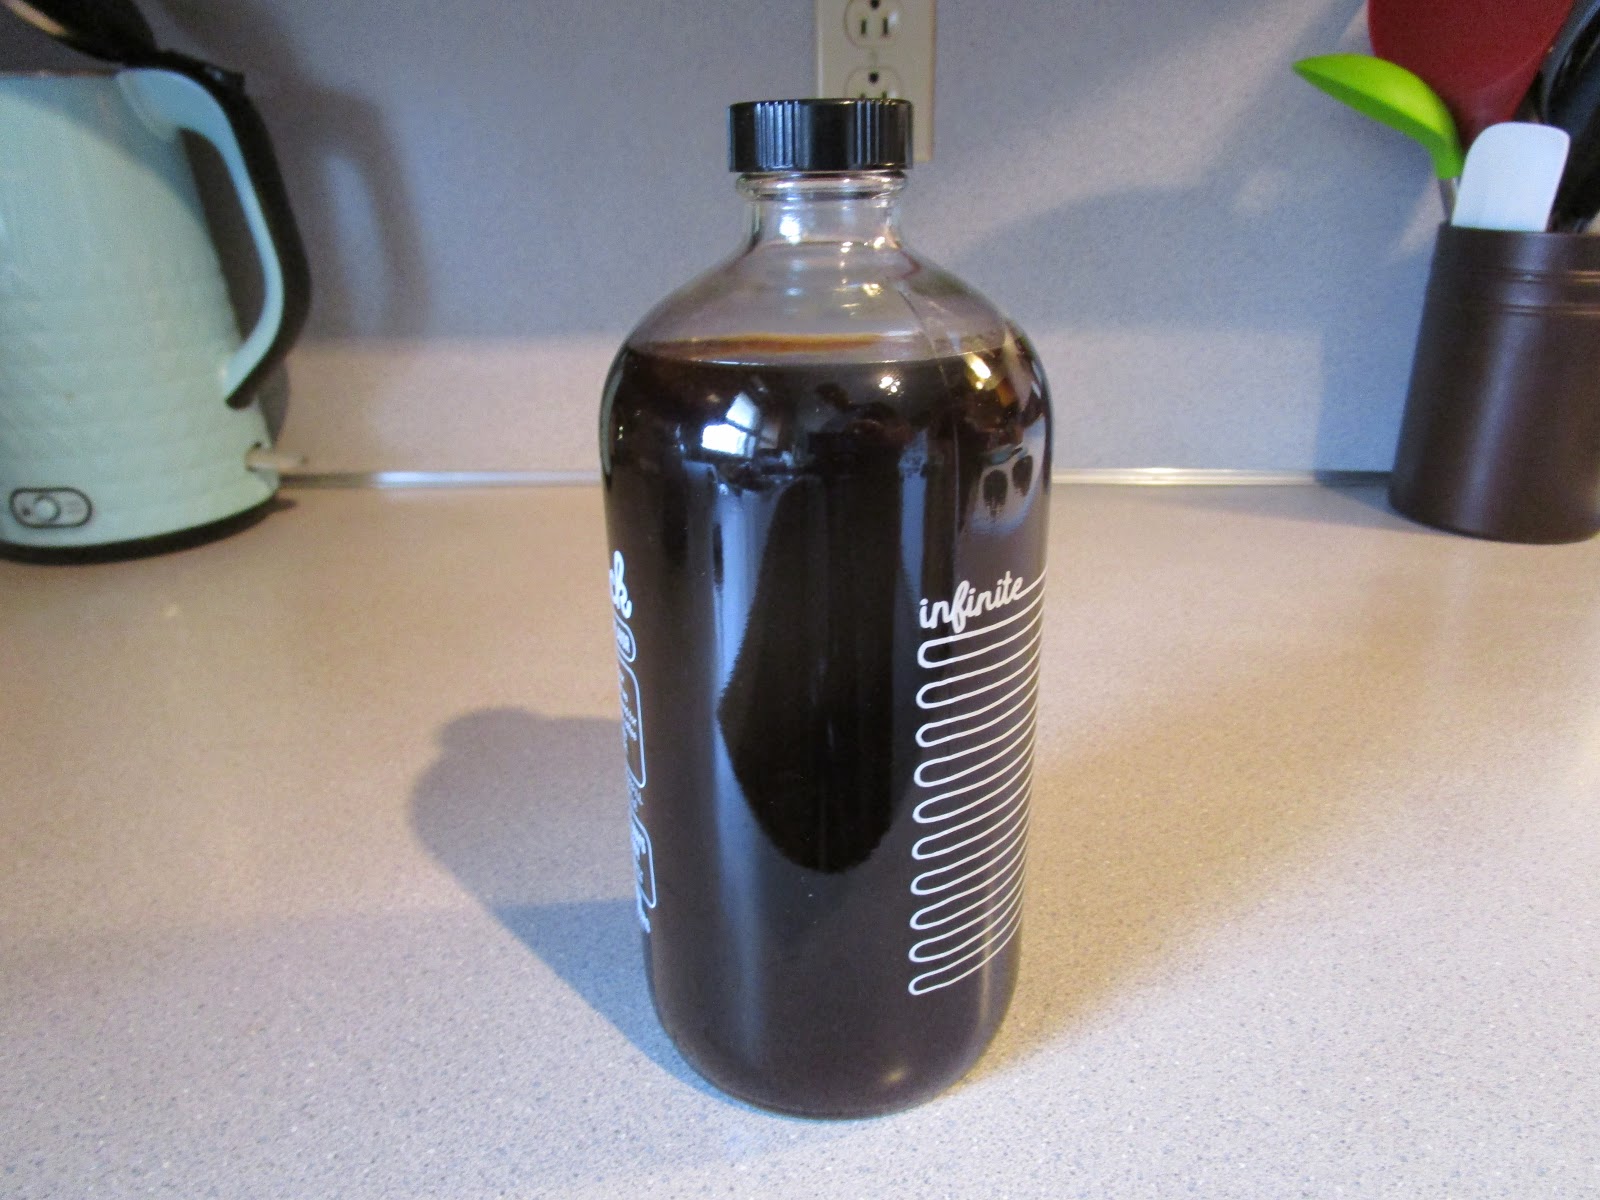
After 24 hours (give or take an hour or so) it’s time to strain out the coffee grounds. Make sure not to wait too much longer than the 24 hour, otherwise the coffee will get bitter. The cold brew coffee should look something like the image below.
With the straining process we want to remove as much of the grounds as possible. If done properly, there will hardly be any of the very fine grounds left in the coffee. Make sure you have a bowl or pitcher that is big enough to hold all the freshly brewed coffee.
Place your bowl or pitcher on the table, take your strainer and place it in/over the bowl/pitcher. Using your filter of choice (coffee filter, paper towel, or table napkin) place it in the strainer (as pictured below). I’ve tried each of these and I personally prefer using an unfolded napkin. The reason for this is because the napkin is thin enough to catch the majority of the coffee grounds while straining relatively fast (a minute or two). Using a coffee filter took much longer than I personally prefer (10- 15 minutes longer). The coffee filter does a better job filtering, but it tends to clog up pretty quick and slow down to a really slow drip. This may take some time for the coffee to drip through the filter. With a little patience, you will be finished shortly.


Step 6: Transfer Filtered Cold Brew to Container for Storage in the Refrigerator
Once finished with the filtering process, transfer the coffee into a container that you plan to store in the refrigerator. A small pitcher, the jar you just used or anything else. Cleanup the containers you used and compost the used coffee grounds and filter or throw them away.
This batch made me around 34oz of cold brew coffee. You can make more or less by adjusting the 5:1 starting ratio of water to coffee grounds. If you’d like, you can play around with weaker coffee (6:1) or stronger coffee (4:1).


Step 7: Pour a Glass of the Best Cold Brew Coffee and Enjoy
Pour yourself a glass of your own fresh, cold brew coffee. Drink it plain, add a little cream and sugar or other flavors to your preference and enjoy! Congratulations!! You did it!!